FREE SHIPPING OVER $100: orders will be sent by Wednesday 11th June
Cart
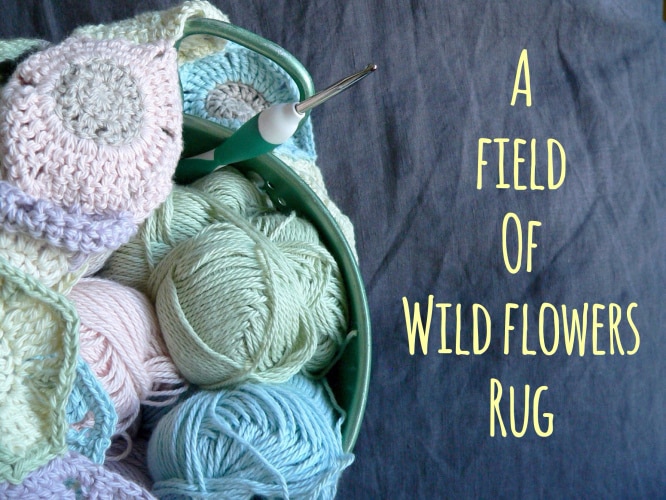
Crochet a Field of Wild Flowers
Creating brings me joy. It feels good to get hit by a flash of inspiration, and I love getting immersed in the design process of sorting out what materials to use and the intricacies of how to make it.
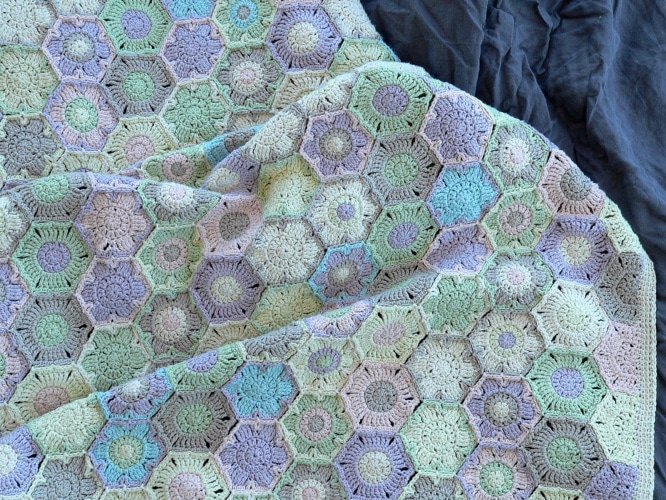
The beginnings of my crocheted Field of Wild Flowers Rug started with a flash of inspiration. I’d been admiring Linda Permann’s Dots and Poppies Baby Blanket pattern for awhile and I had the intention of making it “one day”. I’d bought Heirloom organic cotton yarn to make a different rug but decided the yarn wasn’t suitable for the pattern. Then one day I decided that the yarn and Dots and Poppies pattern should go together – bingo!
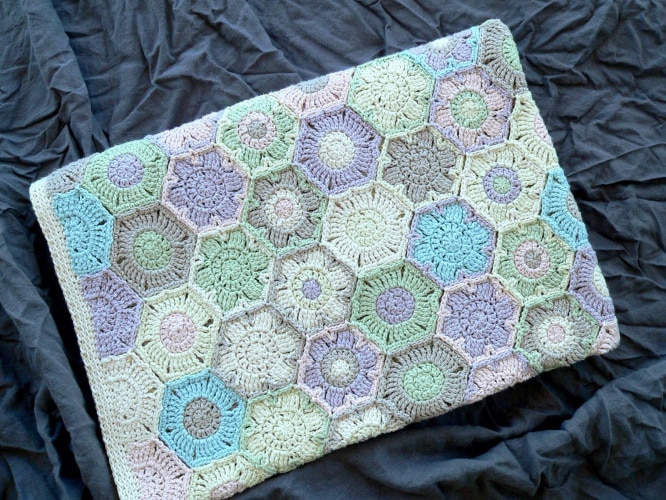
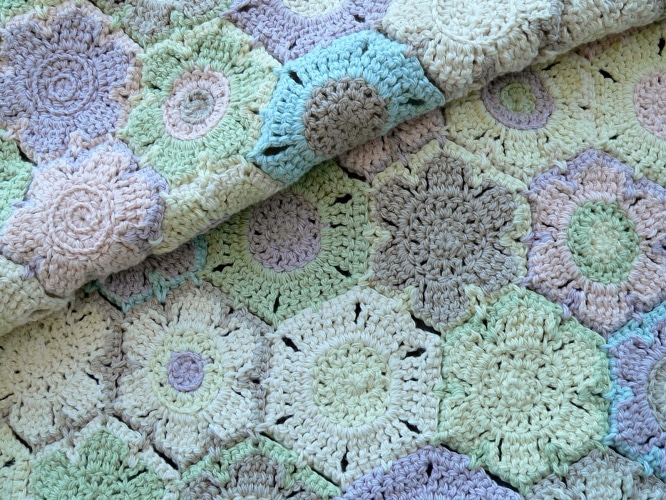
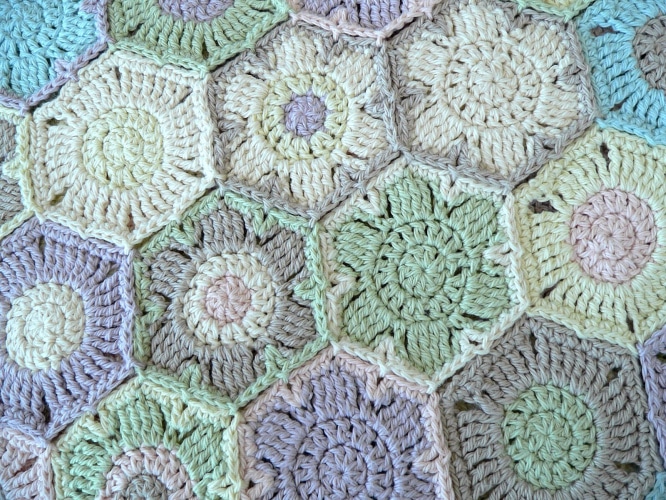
It turned out to be a great flash of inspiration. The different coloured motifs has the beauty of a field of wild flowers and the organic cotton yarn feels soft and oh-so lovely. This is the first time I’d made a “join as you go” rug so I improved my crochet skills my mastering a new technique and learnt how time consuming it is to join over 200 motifs!
Size
The finished size of the knee rug is approximately 1.3m by 1m.
Materials and Tools
- 4.0mm crochet hook (I used an Addi swing hook)
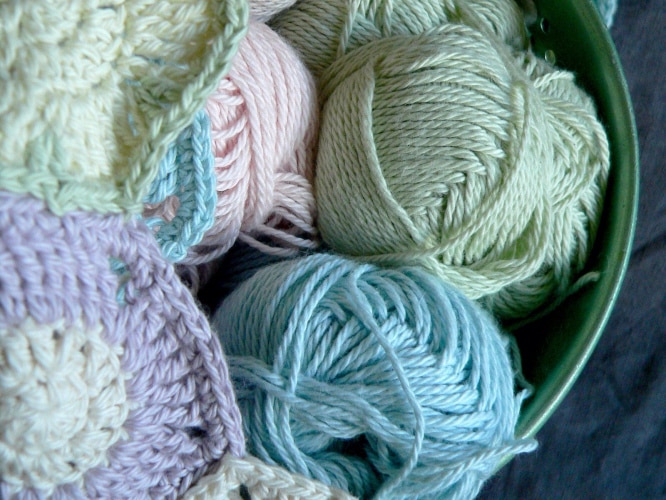
- Heirloom Organically Grown Cotton 8ply (50g balls):
- Pink – 2 balls
- Blue – 2 balls
- Yellow – 3 balls
- Purple – 3 balls
- Green – 3 balls
- Brown – 3 balls
- Cream – 5 balls
- Scissors
- Darning needle
Pattern Modifications
I used a smaller yarn and hook than in the pattern so to make a knee rug I repeated the pattern twice along the long side and twice on the short side (i.e. the pattern is repeated 4 times). To avoid confusing myself I photocopied the layout diagram 4 times and cut and pasted it together.
The colours I used for each yarn symbol in the pattern are:
- A: pink and blue
- B: yellow
- C: cream
- D: purple
- E: green
- F: brown
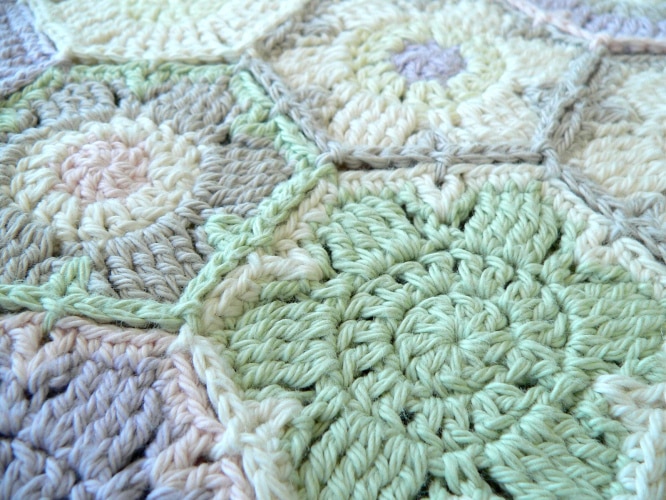
For the border I did 4 rows of single crochet using the cream yarn. The last 3 rows were worked in the front loop only.
I started making circles when I was sewing in the ends to combat being hit by tediousness. It makes the back of the rug look interesting.
Top Tips
I got a bit confused trying to work out what order to join the motifs in. I started on the bottom row and once it was finished I did the row above it. I repeated this until I had finished the last row. For each row I worked from the left to the right.
I learnt to check that the first motif of the row positioned correctly relative to the other motifs. I had to pull out my work a couple of times because the first motif of the row was positioned incorrectly.
Cheers,
Lynda.
P.S. You can find my project on Ravelry here.
Author
Lynda | Homelea Lass
Hi! I’m Lynda (she/her) and I’m the lady behind Homelea Lass.
I’m here to help you improve your crochet skills and to help you find peace and happiness in your creative time.
In 2012 I was knocked down by debilitating chronic fatigue that put an end to my blossoming career as a Civil Engineer and Project Manager.
Early on in my illness, I discovered that I could crochet without draining my energy, so I spent my days crocheting, researching yarns and designing – this is how Homelea Lass was born.
My experience with chronic illness has guided me to combine my passion for exceptional design and crochet. I’ve developed a way of crocheting that’s enjoyable, easy to understand, and maximises it’s relaxing and wellbeing properties.
As my healing journey has progressed, Homelea Lass has grown, and I feel blessed that I can share my love of Australian merino wool, chunky crochet and creativity with you.
