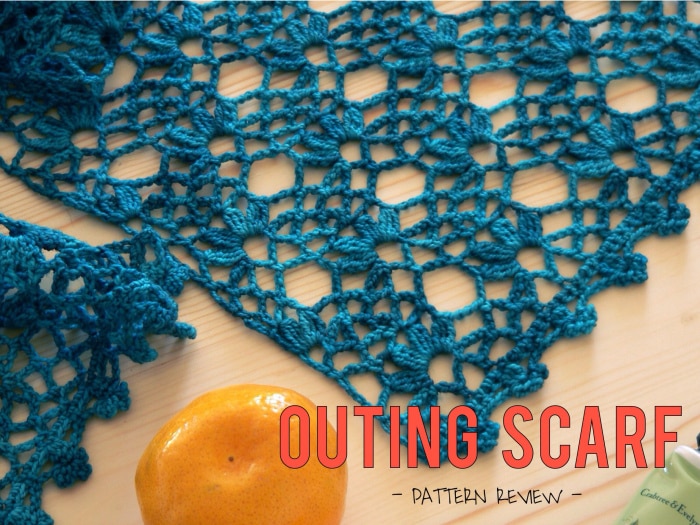
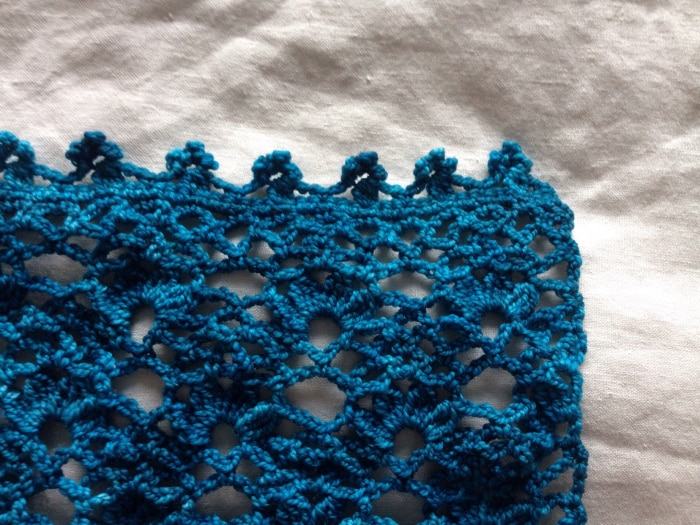
This week I finished crocheting Pierrot’s Outing Shawl pattern and I had to share it with you because it’s turned out beautifully!
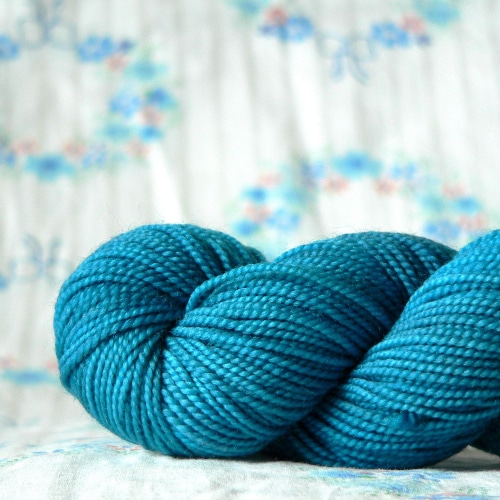
I came across this pattern because I had two skeins of Knitsch 4ply sock yarn in a gorgeous teal colourway called Sinatra that was too amazing to sit in my yarn cupboard. Sinatra’s not just a flat teal colour, it has different depths of tealness that looks amazing. Anyhow, I went searching on Ravelry for a suitable pattern and came across the Outing Shawl. It turns out that this was a yarn-pattern combo that was made in heaven because I only had a little bit of yarn left over and the finished product looks and feels beautiful. I must say that although it’s called a shawl it’s size is more of a scarf in my opinion.
perfectly suited for . . .
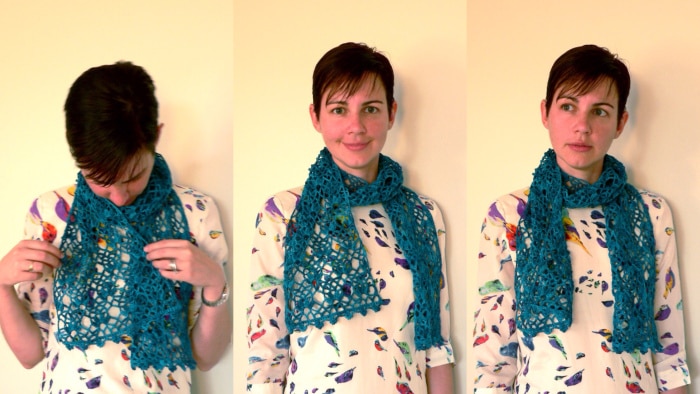
This scarf is perfectly suited for wrapping around your neck when the weather is not warm but it’s not cold either – like when the air conditoning in the office is a tad cool or to combat the evening chill when you’re out enjoying the end of the day. Even though the Outing Scarf is light, delicate and lacy I was surprised by how warm it feels around my neck.
why you should make this . . .
- The edging is cute!
- It’s a free pattern.
- The pattern chart is easy to follow.
- It’s a great “stash buster” because you only need 100g or 334m of 4ply yarn.
- It’s size and weight makes it the perfect for working on when you’re out and about.
- This scarf is (relatively) quick to make, it took me about 10 hours to crochet the body.
- You’ve mastered the basic crochet stitches and want to make an awesome scarf!
top tips . . .
Here are my top tips for making the Outing Scarf:
- Work the dc’s into the chain space, not into an individual chain to form the scallops.
- Finish the body on a row 6.
- When doing the edging work the slip stitches of the 3 petals into the first chain after the 3trtog.
- Check that the first row of the edging is worked with the same side of the scarf body facing forward.
- I seriously recommend blocking your finished scarf, it opens out the pattern and makes the scarf drape beautifully.
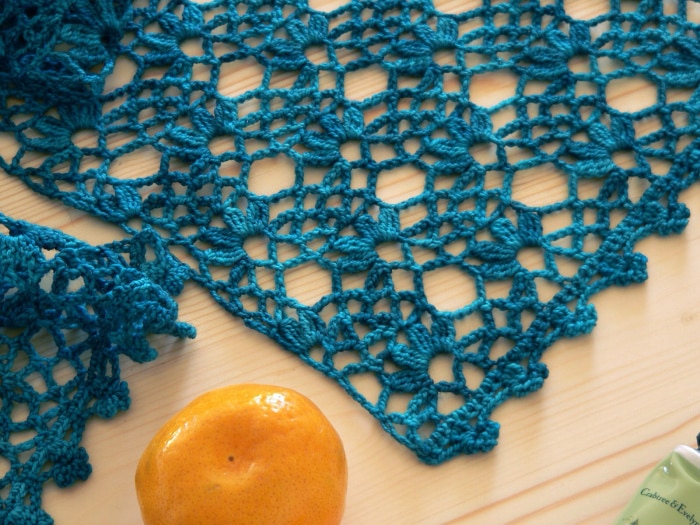
This is what the finished scarf looks like before blocking:
This is what the finished scarf looks like after blocking: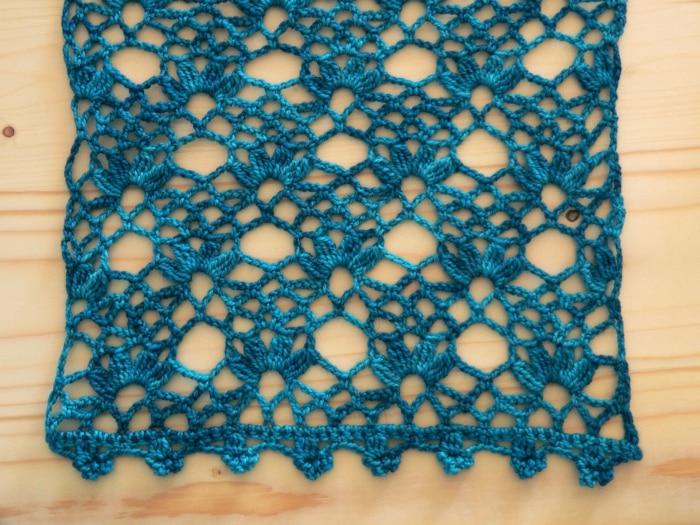
Blocking does amazing things doesn’t it!
more on blocking . . .
When I made my Outing Scarf I blocked it by soaking it for 15 minutes, rolling it in a towel to remove the excess water and then I pinned it out and left it to dry. I’ve since bought a set of blocking wires from Yay! for Yarn called the blocKit. I would now use the rigid wires from this kit in addition to pinning because it will create a more even edge.
You can find my finished scarf on Ravelry here.
With love,
Lynda.
P.S. Check out the second outing scarf I made using cotton here – it’s great for adding a bit of colour and life during the warmer months.