Free shipping for orders over $100: please allow 2 to 4 weeks for your order to be sent find out more
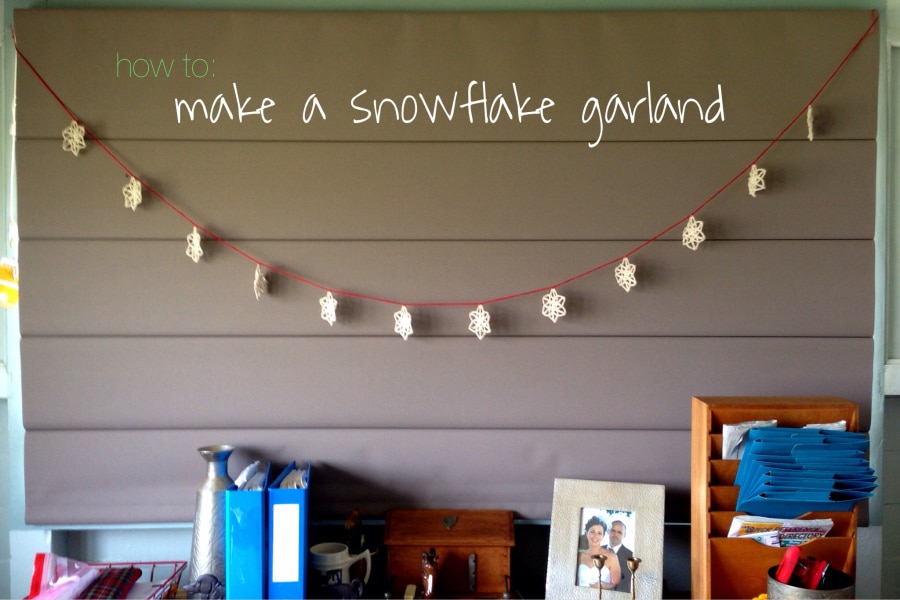
How to Make a Crocheted Snowflake Garland
What you’ll need
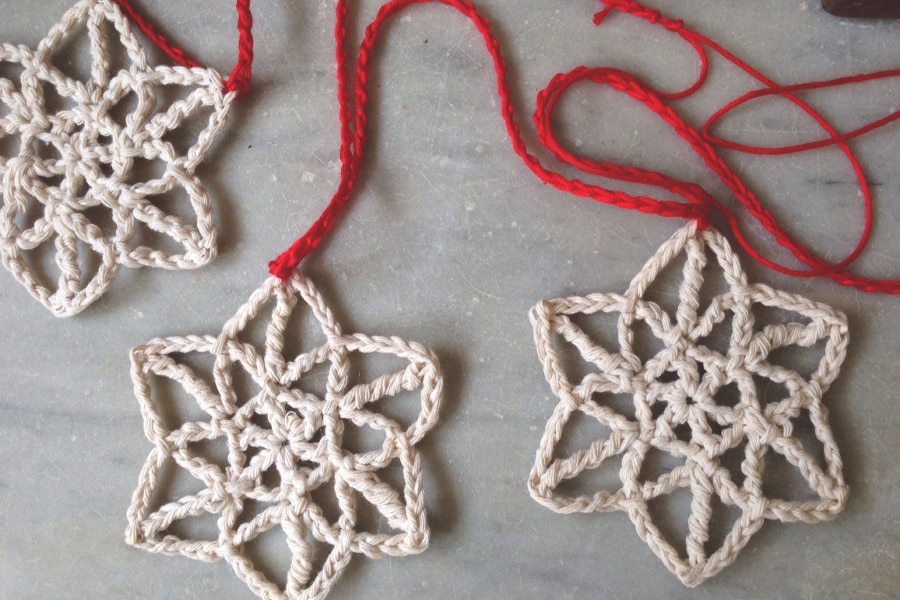
- 12 small Let It Snow crocheted snowflakes (you can find the pattern here)
- Coloured yarn or twine
- Scissors
- Measuring tape
Size
How to make
- Using the coloured yarn/twine, make a slip knot leaving 300mm of yarn loose.
- Make 30 chains, then make a slip stitch through one of the snowflake points.
- Continue step 2 until all the snowflakes have been joined into the garland.
- Make another 30 chains and fasten off, leaving a 300mm loose end.
- On each end tie a loop with the 300mm of yarn.
- Hang up your garland, smile, tilt your head on the side and go “owwww” 🙂
Author
Lynda | Homelea Lass
Hi! I’m Lynda (she/her) and I’m the lady behind Homelea Lass.
I’m here to help you improve your crochet skills and to help you find peace and happiness in your creative time.
In 2012 I was knocked down by debilitating chronic fatigue that put an end to my blossoming career as a Civil Engineer and Project Manager.
Early on in my illness, I discovered that I could crochet without draining my energy, so I spent my days crocheting, researching yarns and designing – this is how Homelea Lass was born.
My experience with chronic illness has guided me to combine my passion for exceptional design and crochet. I’ve developed a way of crocheting that’s enjoyable, easy to understand, and maximises it’s relaxing and wellbeing properties.
As my healing journey has progressed, Homelea Lass has grown, and I feel blessed that I can share my love of Australian merino wool, chunky crochet and creativity with you.

