Free shipping over $100: please allow 1 to 3 weeks for your order to be sent find out more
Making the Perfect Pompom
Categories:
Homelea Lass Happenings, Christmas
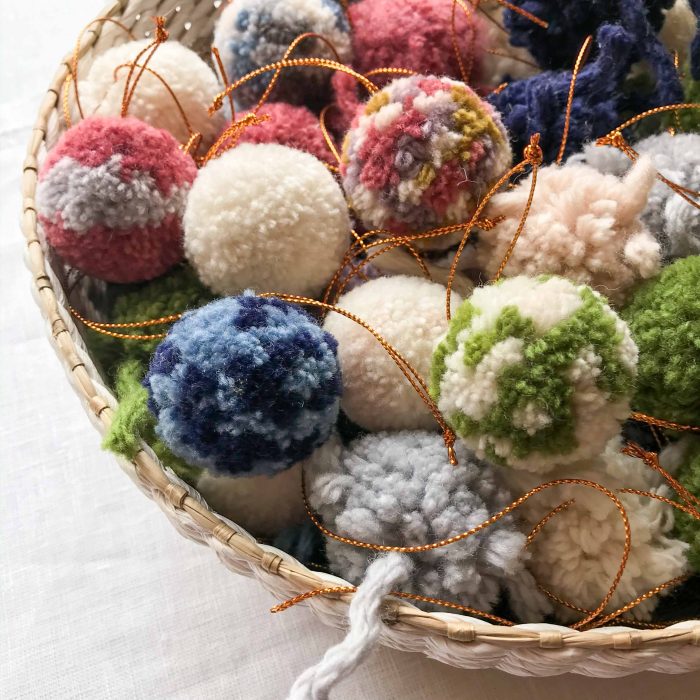
There’s something about pompoms – they’re full of crafty happiness! They always make me smile. The simple process of wrapping, tying and trimming yarn into something soft and round is incredibly satisfying, and every pompom has its own personality.
It can be hard to master the art of making full and lovely pompoms. I’ve spent many hours struggling to make beautiful pompoms, and I’m excited to share my tips for making perfect pompoms with you! Often it’s the smallest details that make the biggest difference.
It wasn’t until I discovered the right yarn and tools that I found my pompom-making mojo.
From there, my pompoms started coming together more easily, and I could focus on shaping and trimming them to get that lovely full finish.
key points:
- Choose a yarn that fluffs well when trimmed
- Use a pompom maker that holds shape evenly
- Wrap the yarn tightly and generously
- Use sharp scissors for careful shaping
- Take your time and refine the shape gradually
my top tips for making lovely pompoms:
These simple tips will help you create fuller, rounder pompoms and make the whole process easier and more enjoyable from start to finish.
1. The yarn – Homelea Bliss super chunky yarn is ideal for making perfect pompoms because it’s made up of lots of individual pieces of yarn that are twisted together in lots of 3. When you fluff and trim your pompom, these individual pieces come apart and fluff up to fill any gaps and make a full pompom.
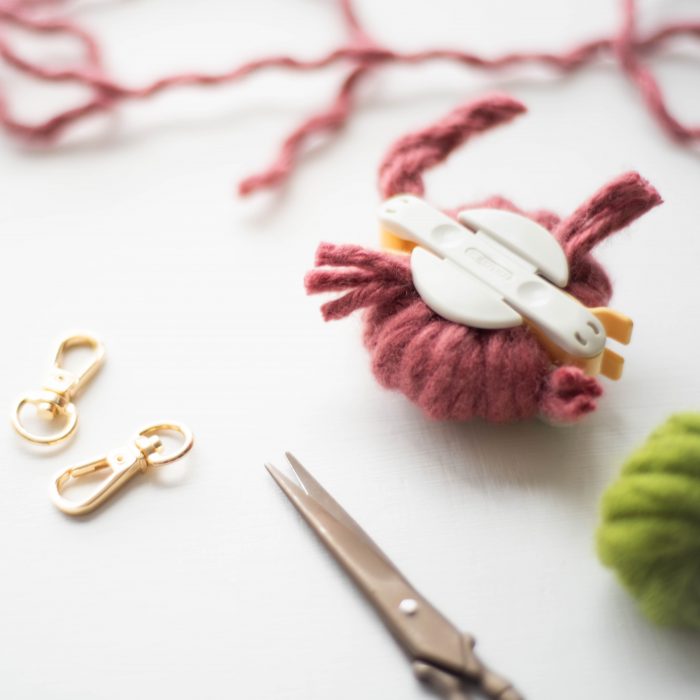
2. The pompom maker – I’ve made pompoms the “old-fashioned way” with 2 pieces of cardboard, and also with plastic donuts, but I could never get my pompom looking round and full. I’ve fallen head over heels in love with the Clover pompom makers because they’re perfectly proportioned, easy to use, and I can make my pompom without having to cut individual lengths of yarn.
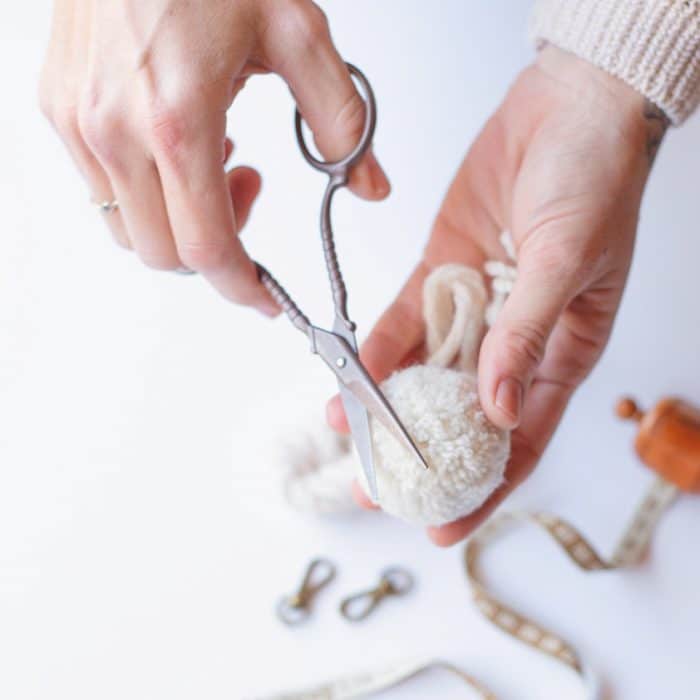
3. The scissors – the perfect pompom requires lots of trimming, and this requires scissors that are sharp, the right size and easy to hold.
4. Lots of yarn – it’s important to get as much yarn as possible into the pompom, as this makes it lovely and full. The way to do this is to wind the yarn as tightly as possible around the pompom maker.
5. Fluff and trim – it sounds a little odd to “fluff” your pompoms, but it’s important! This separates the individual pieces of yarn and fluffs them up to create a full and lovely pompom. “Fluff and trim” over and over again to create the fullest pompom possible.
6. Take your time – the perfect pompom isn’t created in one sitting, it’s one of those things that is worth looking at with fresh eyes. When you think you’re finished, or you’re just getting frustrated, put your pompom down and come back to it later – you’ll be glad you did.
start making: 3 free pompom online courses
Ready to hone your pompom-making skills? Jump into making these online courses:
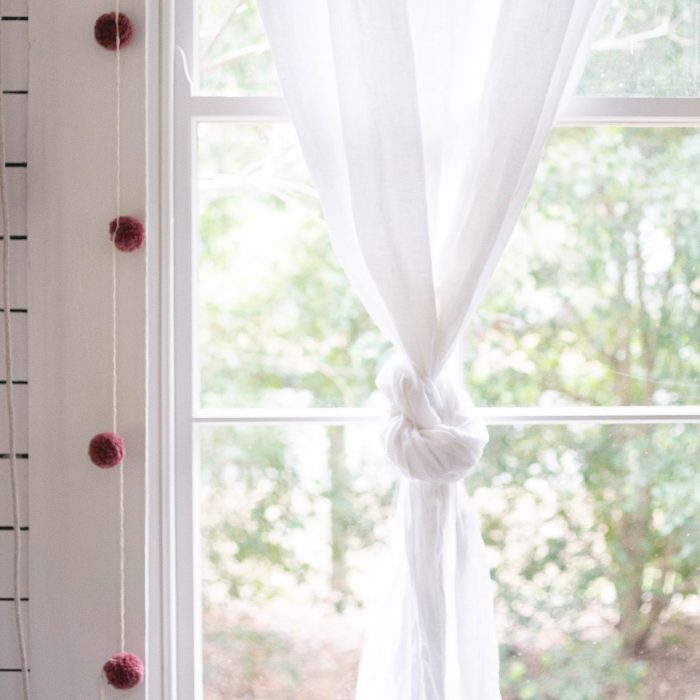
Pompom Garland
Decorate your home with this online course
Pompom Clips
Follow the online course and add pompoms to your bags and key

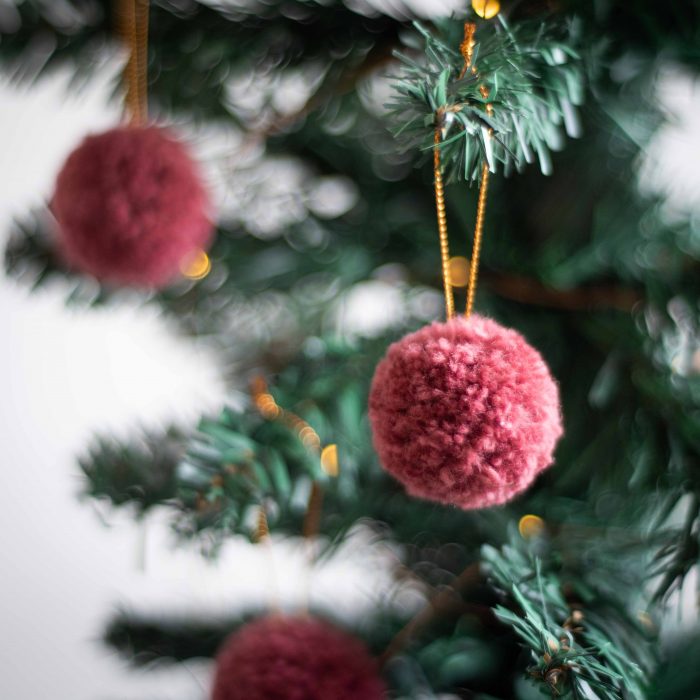
Pompom Baubles
Learn what to do in the online course and decorate your Christmas tree with handmade happiness
keep practising your pompom making
The more pompoms you make, the easier it becomes to spot what works and what doesn’t. Try different yarn thicknesses, experiment with how tightly you wrap, and notice how trimming changes the final shape. Each pompom teaches you something new.
Happy pompom making! Tag me @homelealass with your pompom photos on Instagram!
With love, Lynda.
Pompom Making FAQ
1. How do I make my pompom round?
Trim slowly and rotate it often so the shape stays even on all sides.
2. Why does my pompom look thin?
It usually needs more yarn. Wrap tightly and fill the pompom maker as much as possible.
3. Why does trimming take so long?
Layered trimming and fluffing is what creates that full, soft finish. Small adjustments give the best result.
4. How do I know when it’s finished?
When it feels dense, looks even from every angle and holds its round shape in your hand.
Author
Lynda | Homelea Lass
Hi! I’m Lynda (she/her) and I’m the lady behind Homelea Lass.
I’m here to help you improve your crochet skills and to help you find peace and happiness in your creative time.
In 2012 I was knocked down by debilitating chronic fatigue that put an end to my blossoming career as a Civil Engineer and Project Manager.
Early on in my illness, I discovered that I could crochet without draining my energy, so I spent my days crocheting, researching yarns and designing – this is how Homelea Lass was born.
My experience with chronic illness has guided me to combine my passion for exceptional design and crochet. I’ve developed a way of crocheting that’s enjoyable, easy to understand, and maximises it’s relaxing and wellbeing properties.
As my healing journey has progressed, Homelea Lass has grown, and I feel blessed that I can share my love of Australian merino wool, chunky crochet and creativity with you.