The Christmas season makes me grateful, grateful for all the good things in my life. Last year I thanked the special people in my life by sending them Christmas cards, something I hadn’t done for years.
When it came to sending Christmas cards this year I had a little bit of a wastage dilemma. Each year I always struggle to throw out the Christmas cards I’ve received because someone has put time and effort into it, but then I don’t know what to do with them so I put them in a cupboard until they eventually get thrown out.
So this year I’ve come up with a way of sending Christmas greetings, thanking people and sharing some handmade goodness all in one.
I’ve designed a Christmas card which is a crocheted ornament with a tag attached – it’s a card and mini gift all in one. It can be hung on the Christmas tree and used each year, and there’s no need to throw the greetings out.
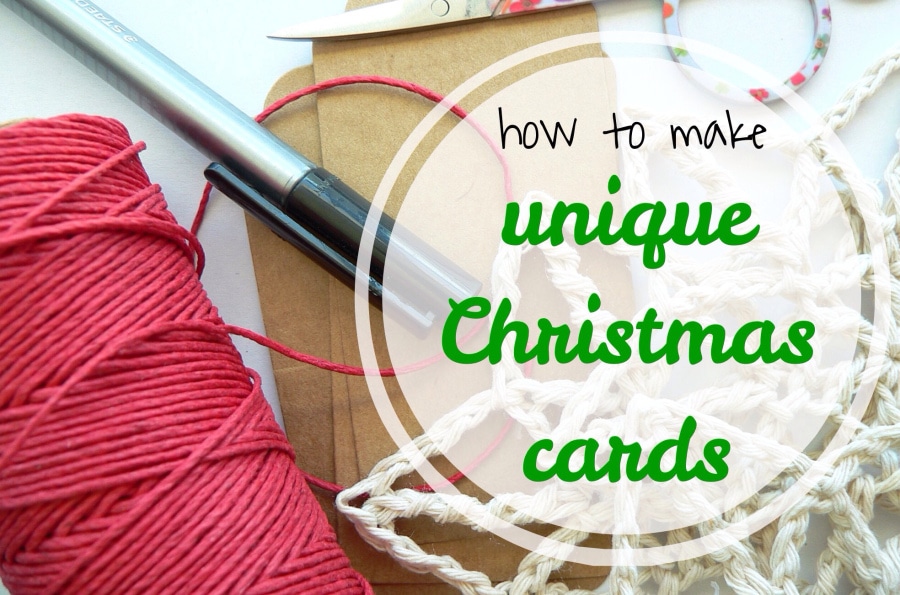
I’ve put together a tutorial for you so you can make these unique Christmas cards too!

What You’ll Need
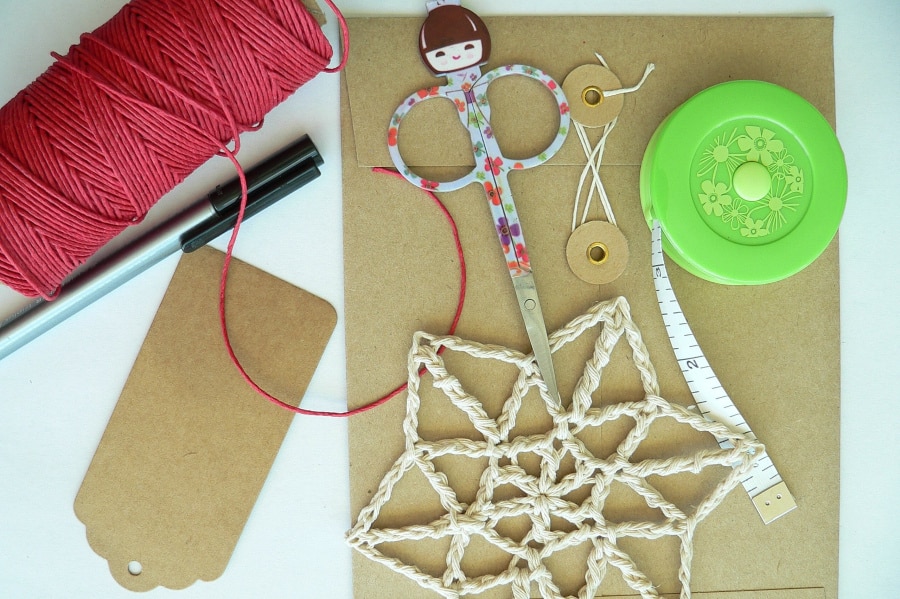
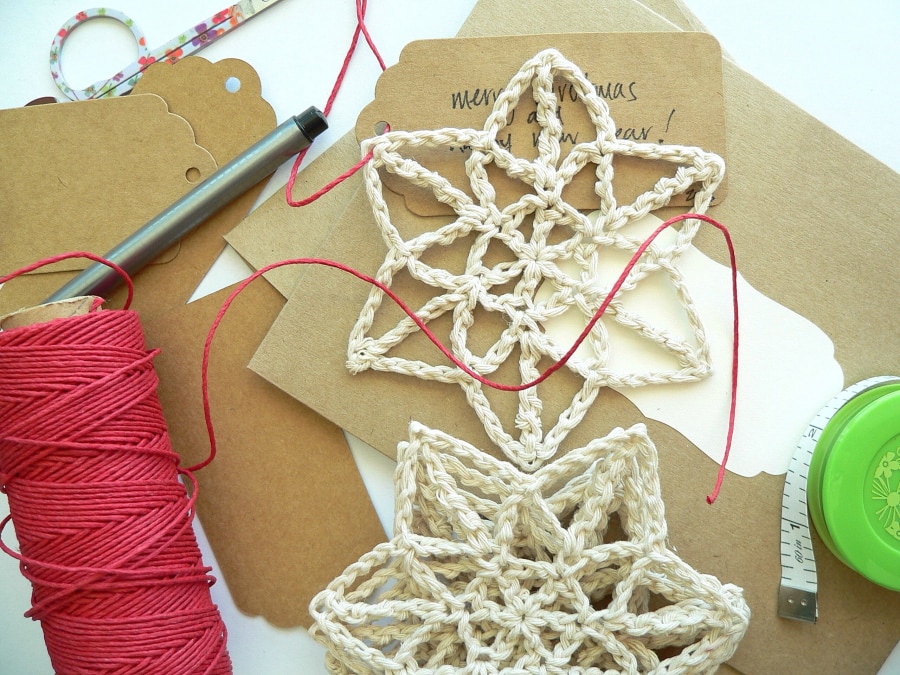
- Handmade Christmas ornament – I’ve used a medium crochet snowflake from my Let It Snow crochet pattern
- Coloured twine
- Envelopes
- Tags
- Scalloped labels
- Pen
- Tape measure
- Scissors
How to make
Once you’ve got everything together these are super easy to make.
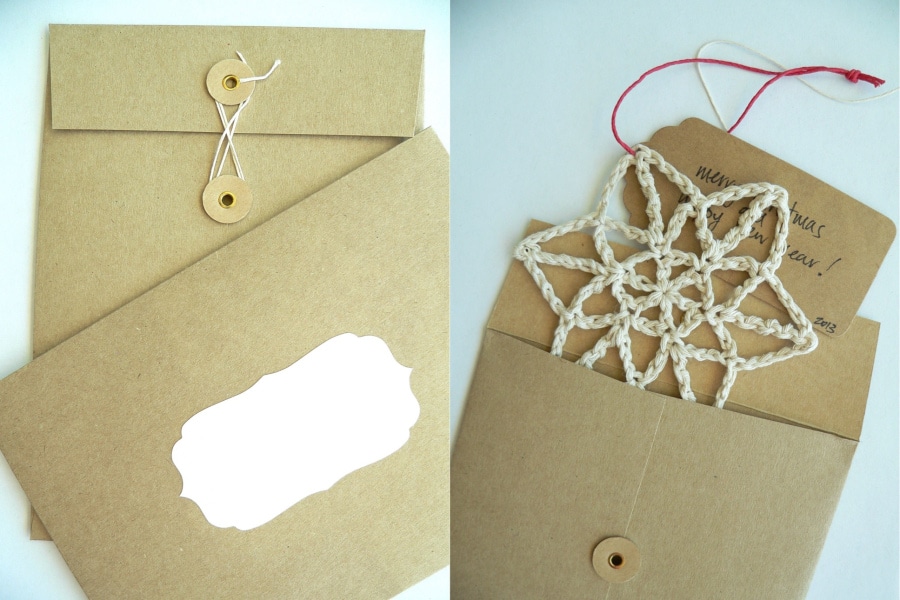
Step 1: Write your greeting on the tag, just like you would in a normal Christmas card. You can use both sides of the tag. I put my greeting on the front and my “thank you” on the back of the tag.
Step 2: Cut a 200mm long piece of coloured twine and thread it through one of the snowflake points and the tag. Tie the ends of the twine together.

Step 3: Stick a scalloped label on the envelope and address the envelope. Don’t forget to put your postal address on the back. It’s easier to write on the envelope when it is empty rather then when the snowflake is inside
Step 4: Slide the snowflake into the envelope and fasten the envelope closed. All done!
Now wasn’t that easy? You can do the same thing every year with different ornaments, and over time your family and friends will get a collection of Christmas decorations that have been made with love.
Happy creating!
Cheers,
Lynda.