The online course with helpful video tutorials to make this gorgeous cowl is available here, and the chunky crochet kit is available here.
welcome
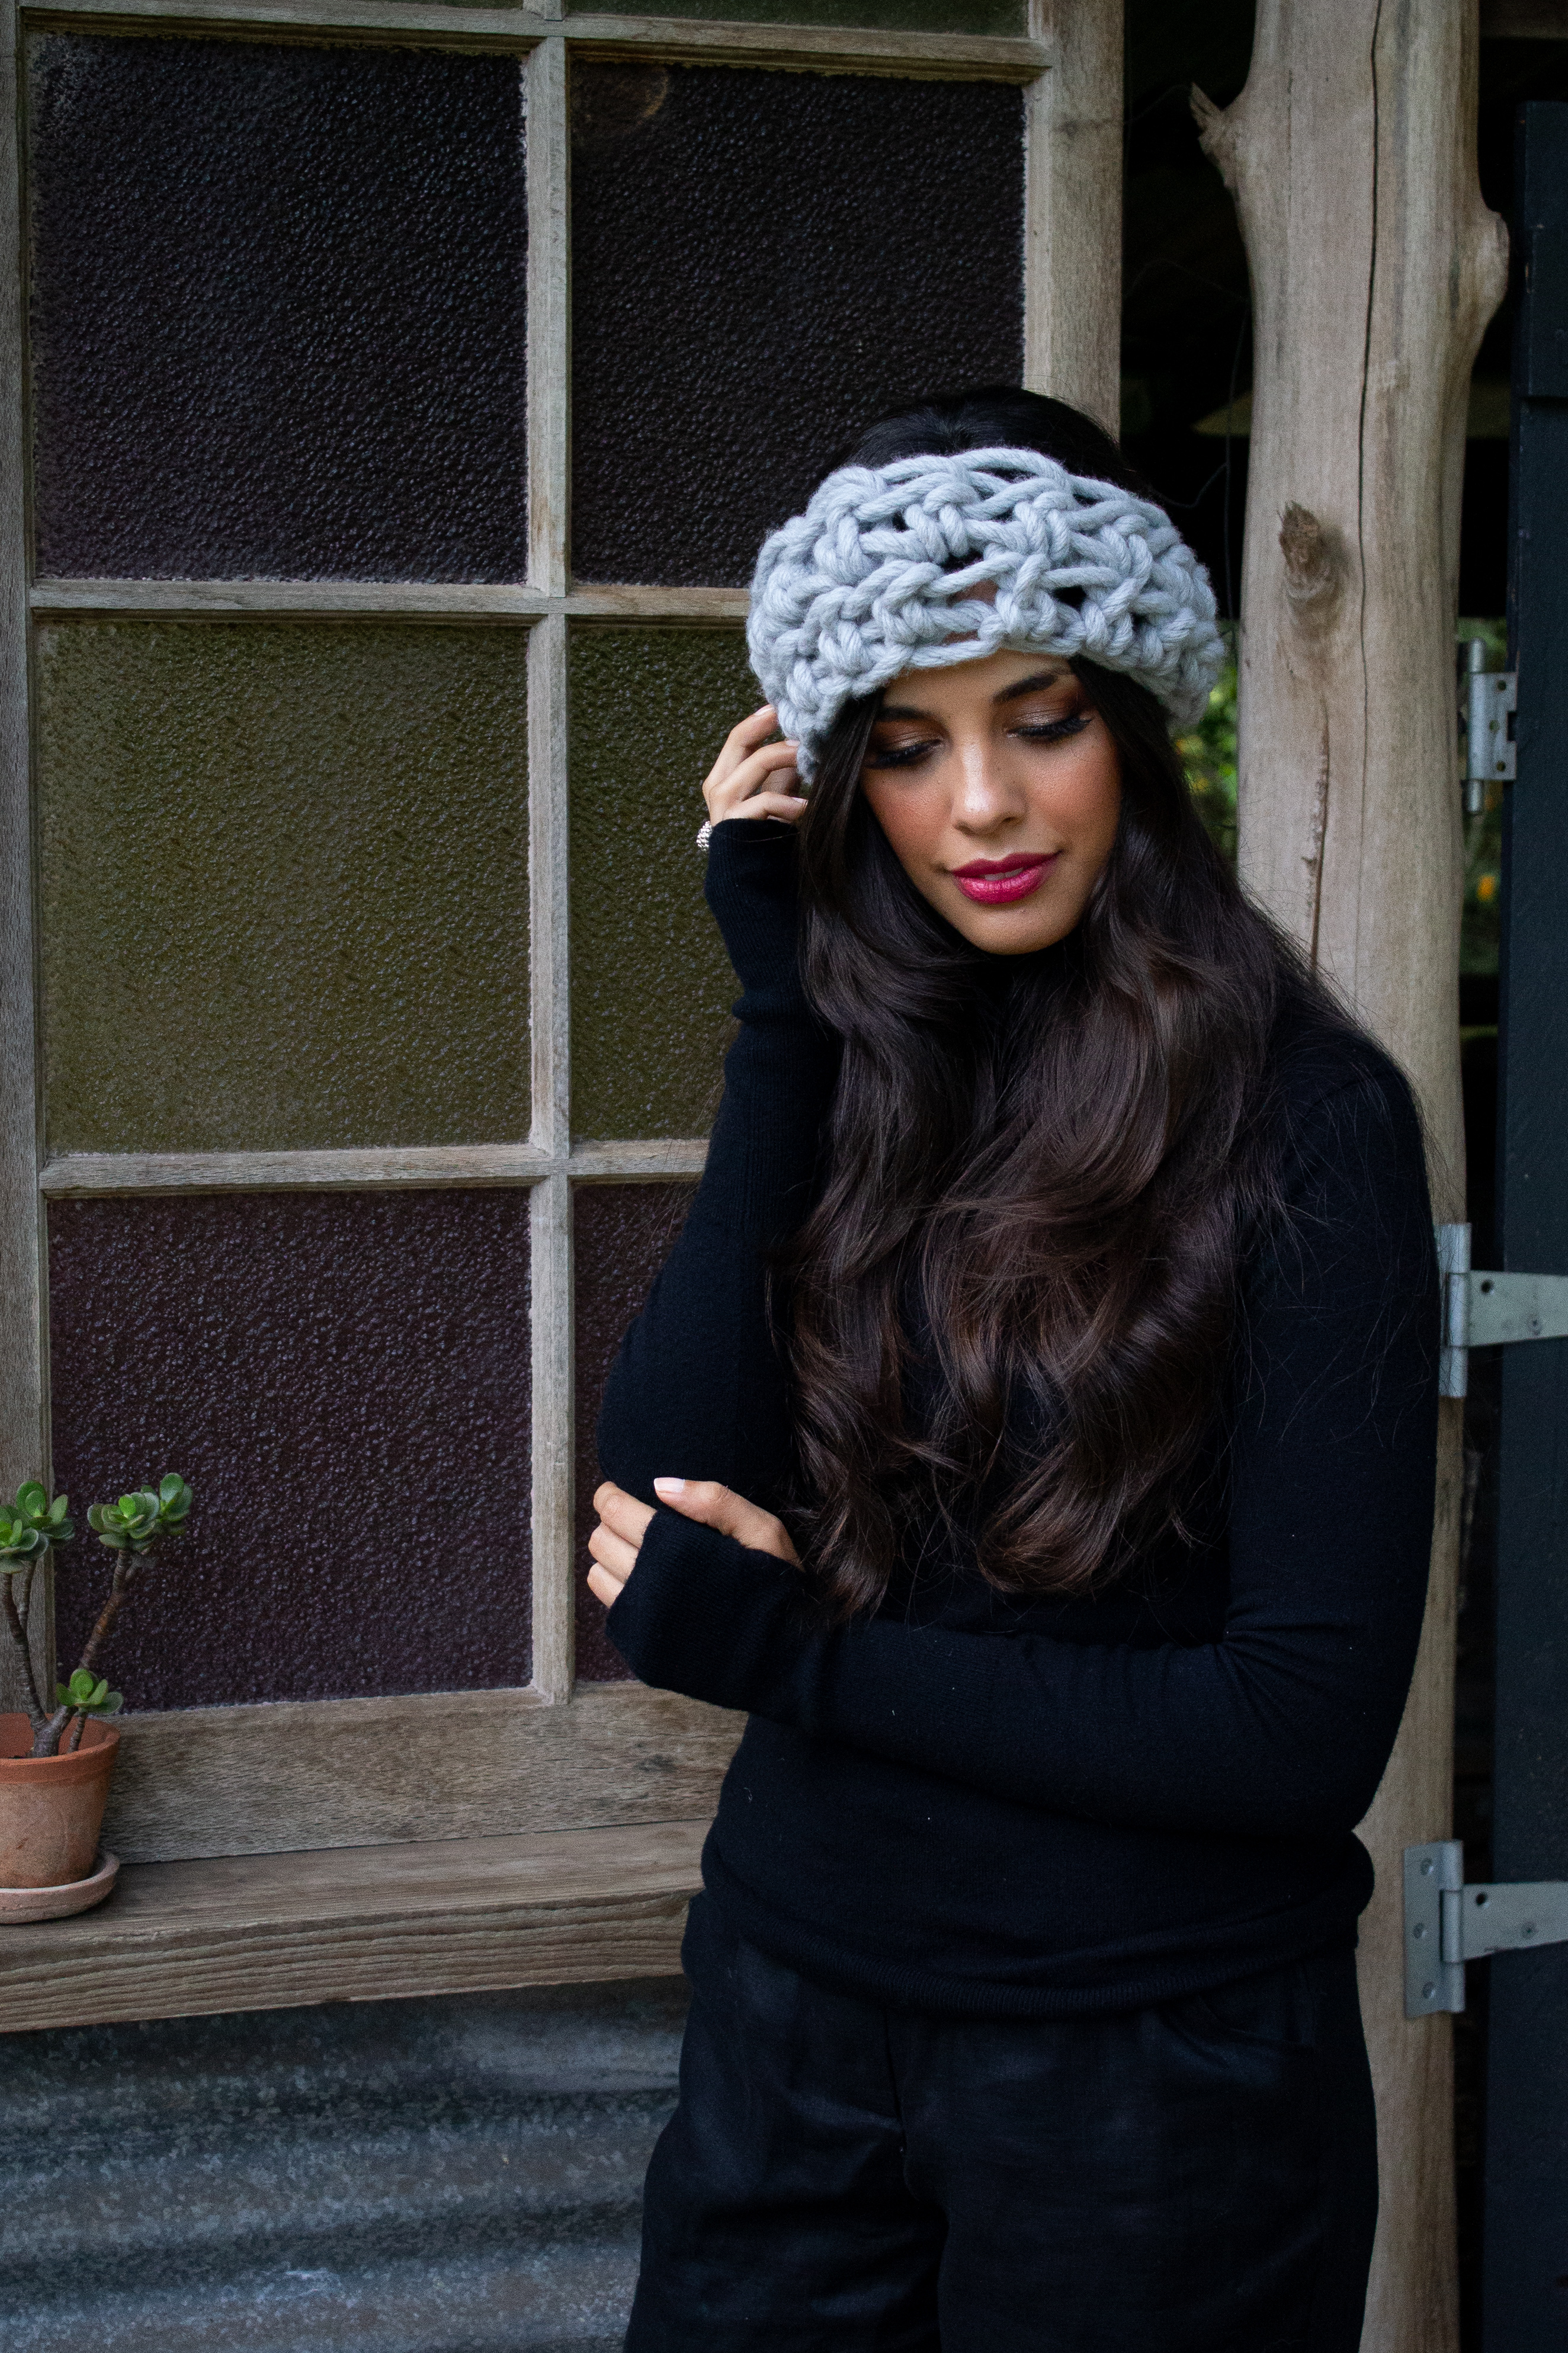
Hello and welcome to the Spring Headband and Cowl crochet pattern!
I’m so glad you’ve decided to make this pattern. It’s lovely and easy to make and perfect for pulling on as the days warm up in Spring, or as they’re getting cooler in Autumn.
The Spring Headband and Cowl is inspired by growth and renewal, and its texture reminds me of leaves and vines growing and moving. Wearing your Spring Cowl feels light, warm and snuggly – perfect for when the air is crisp, and the sun is warm.
what we’re making
We’re making a chunky Spring Headband and Cowl. It’s crocheted using gorgeously soft merino wool and it won’t take you long to make it.
This gorgeous headband and cowl is made by crocheting half treble (half double crochet) stitches in the round – this creates an open and pretty texture that’s reversible. It starts off by joining the foundation chain, and then each row is joined with a slip stitch before moving onto the next one.
sizes
The Spring Cowl is a “mini cowl” and it is approximately 50cm (19.7in) around and 8cm (3.1in) high.
The gauge (stitch size guide) for this design is approximately 2 rows and 3 stitches in a 10cm (4in) by10cm (4in) square.
before we start crocheting
what you’ll need
To make your Spring Cowl you will need:
- a 100g (3.5oz) mini skein of Homelea Bliss yarn in your favourite colour (Homelea Bliss is approximately 70ply or super chunky size)
- 25mm (U) bamboo crochet hook– it’s so lovely and light to hold
- scissors
- tape measure
- 1 stitch marker (safety pins or different coloured yarn can be used as well)
- the desire to make something beautiful

how to read this crochet pattern
In this version, the US terminology for each stitch is included in brackets after the UK terminology.
The abbreviations that are used throughout the pattern for the stitch names are summarised in the table below.
|
abbreviation |
UK terminology | US terminology |
|
ch |
chain |
chain |
|
htr (hdc) |
half treble |
half double crochet |
|
slst |
slip stitch |
slip stitch |
| st(s) | stitch(es) |
stitch(es) |
Throughout this crochet pattern, you’ll notice curvy brackets at the end of the row – this indicates the number of stitches in the row. For example, {15 sts} means that there are 15 stitches in the row.
how to make a different size
Changing the size of your Spring Cowl is easy. Here are a few different ways to do it:
- increase or decrease the number of stitches in the foundation chain to make your cowl longer or shorter, or
- increase or decrease the number of rows to change the height of your cowl, or
- change the size of your yarn or use a different sized crochet hook to change both the length and width of your cowl.
it’s good to know
- I’ve found that when I crochet with chunky yarn and a huge hook I hold the yarn and hook differently to when I’m using “normal” sized yarn because of the extra size and weight. To avoid discomfort in my arms and hands I share the crocheting movements between both arms and it becomes a full upper body workout! I also try to be aware of my posture as I’m crocheting.
- To have the top and bottom edges of your cowl both showing the beautiful v’s of the crochet stitches we’ll be working the stitches of row 1 into the single loop (or knobbly bit) at the back of the foundation chain stitches.
let’s start crocheting
how to turn your skein into a ball
The first thing you’ll need to do is turn your chunky skein of Homelea Bliss into a ball.
The easiest way to do this is to:
- open up the skein
- lie the skein flat and in a circle in front of you
- untie or cut the loops that are holding the yarn together
- find the end
- carefully unwind some of the yarn
- wrap the end around your fingers a couple of times
- slip the yarn off your fingers, fold it in two and then wind the yarn around this to start creating a ball
- keep carefully unwinding the skein and wrapping it around the ball until you’re finished.
If you’ve mastered the art of winding a centre pull ball on a Nostepinne you can do this too.
Note – if you have a yarn swift you can put the opened skein on your swift and unwind it from here. Most of the time I skip the ball winding and crochet straight from the swift.
foundation chain
- leaving a 15cm (5.9in) end, make a slip knot
- make 15 ch
- join the ends of the foundation chain together using a slst
- {15 sts}
helpful hint – check your foundation chain isn’t twisted after you have joined it

row 1
There are only 2 rows in your Spring Cowl, so let’s get started on the first one!
- make 2 ch (this is the turning chain and counts as a st)
- put a stitch marker in the second ch
- do 14 htr (hdc)
- slst into the marked st
- {15 sts}
row 2
Here’s how to do row 2:
- make 2 ch (this is the turning chain and counts as a st)
- put a stitch marker in the second ch
- do 14 htr (hdc)
- slst into the marked st
- {15 sts}
secure your last stitch
- leaving a 15cm (5.9in) tail, cut the yarn
- pass the end through the loop and pull it to close and secure the stitch
- tie a knot around where the last stitch has been secured
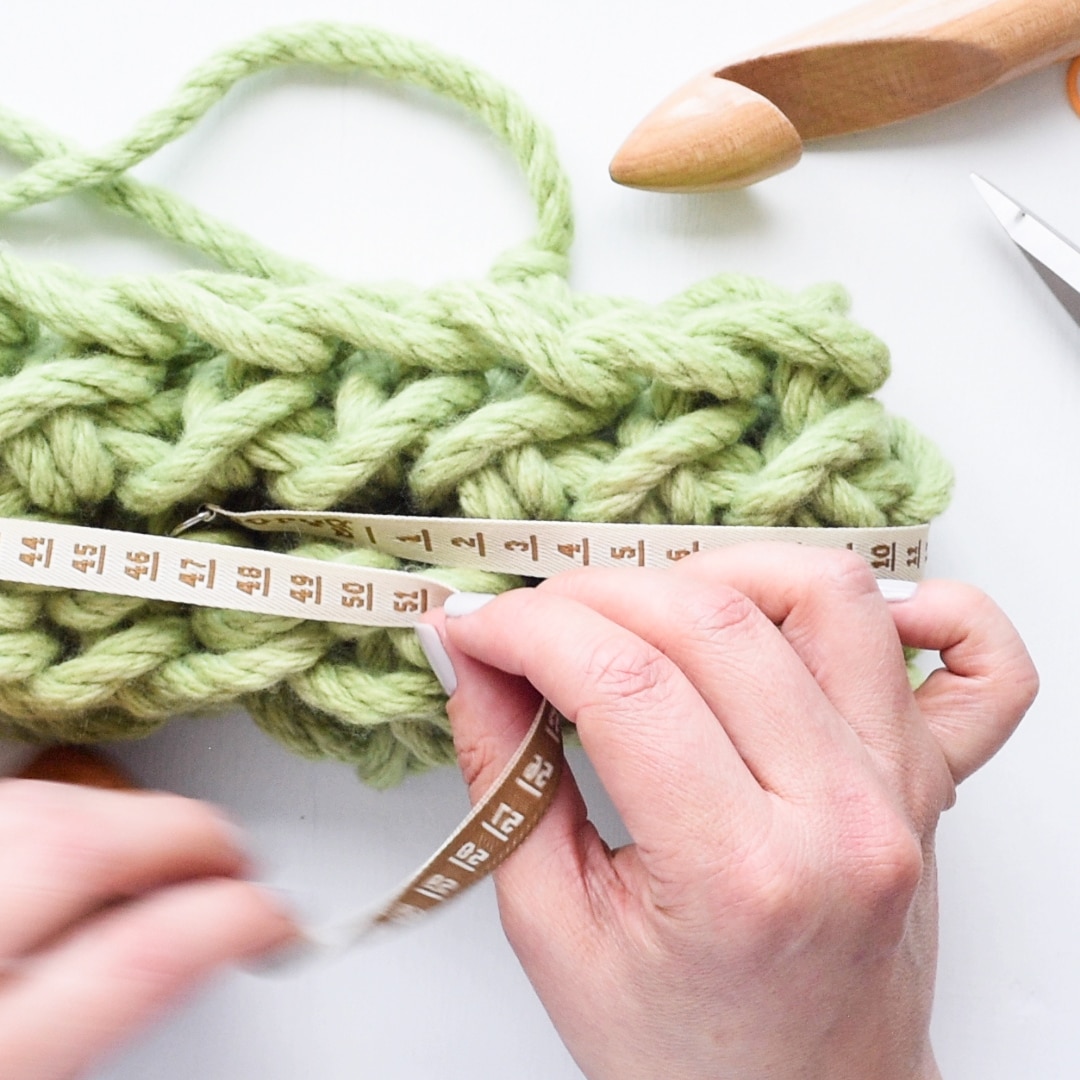
check the size of your cowl
Now is a good time to check the size of your crocheting. To do this lie your cowl flat and measure the length and width of it.
The Spring Cowl design is approximately 50cm (19.7in) around and 8cm (3.1in) high. If your cowl is close to this, it means that your tension is similar to the design.
If your cowl is smaller than the design – it means that your tension is tighter than the design. You can change this by using a larger crochet hook, or, you can just keep going. You may find that as you progress you’ll relax, and your stitches will get looser (and your rows will get longer).
If your cowl is larger than the design – it means that your tension is looser than the design. You can change this by using a small crochet hook, or, you can just keep going. You may find that as you get more familiar with making the stitches, your stitches will get closer together (and your rows will get shorter).
If your cowl is a different size to the design, then you will use either more or less yarn than the design.
weave in the ends
- using your fingers, weave the end through different loops, trying to make it as invisible and uniform as possible
- tie a knot in the end after the last stitch (to keep it from unravelling)
- trim off the end at the knot
- give it a bit of a jiggle and check it sits okay
With love, Lynda.
The online course with helpful video tutorials to make this gorgeous cowl is available here, and the chunky crochet kit is available here.
